Onenote Tutorial
Class notebooks are useful VLEs that allow students to have their own digital learning portfolios, access to common learning resources and facilitate collaborative work.If you already have a class notebook set up for your classes, please ignore the ‘set up’ stage.
Set up
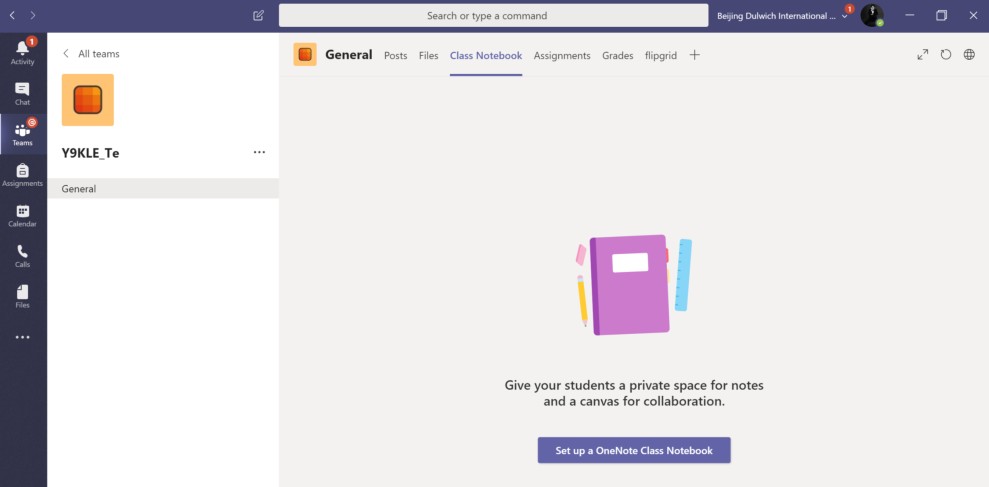
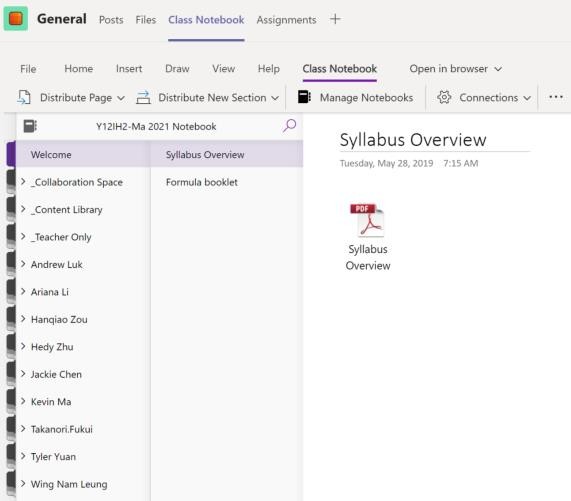
In Teams, go to the class you would like to set a Notebook for and press the ‘Class Notebook’ tab. Allow time for the page to load and press ‘set up a OneNote Class Notebook’.
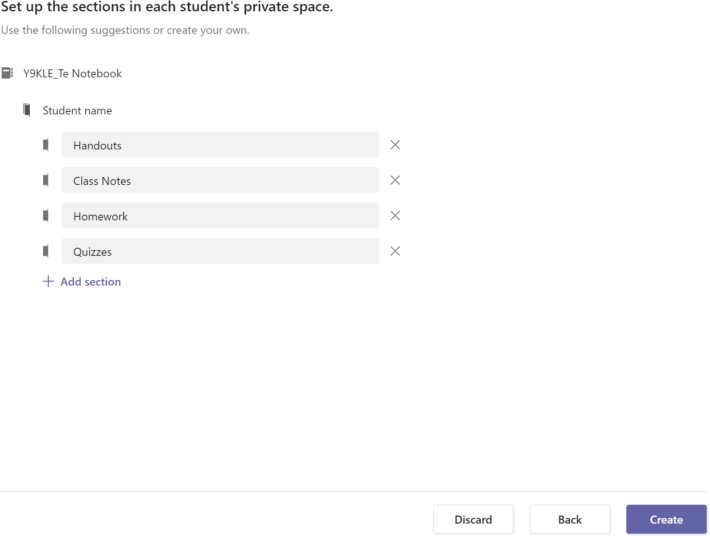
In the drop box menu, choose ‘Blank Notebook’ (unless you have a master OneNote for a certain subject). Then press next.This is where you decide on the structure of the sections each student will have in their digital notebook. This will vary between subject areas and you should consult your HOD or ICTChampions. Commonly used sections are: HW, handouts, notes, review material, etc.
Once complete, press ‘Create’. Please allow time for the Notebook to be created, set up and synched. This may take afew minutes so do it ahead of class time.A default Notebook has two common sections:
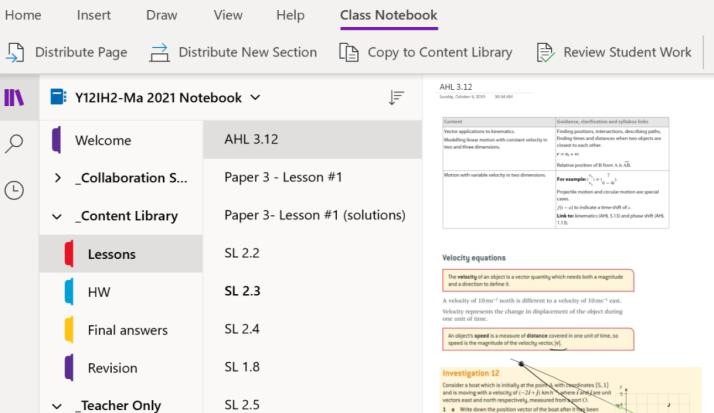
- Content Library: this is a read-only section. You can use it to upload materials and notes for lessons. Students can see/copy pages in this section but cannot edit/delete anything. You can also use it as a whiteboard and type/draw on it and students will be able to see it live (pending syncing time).
- Collaborate Space
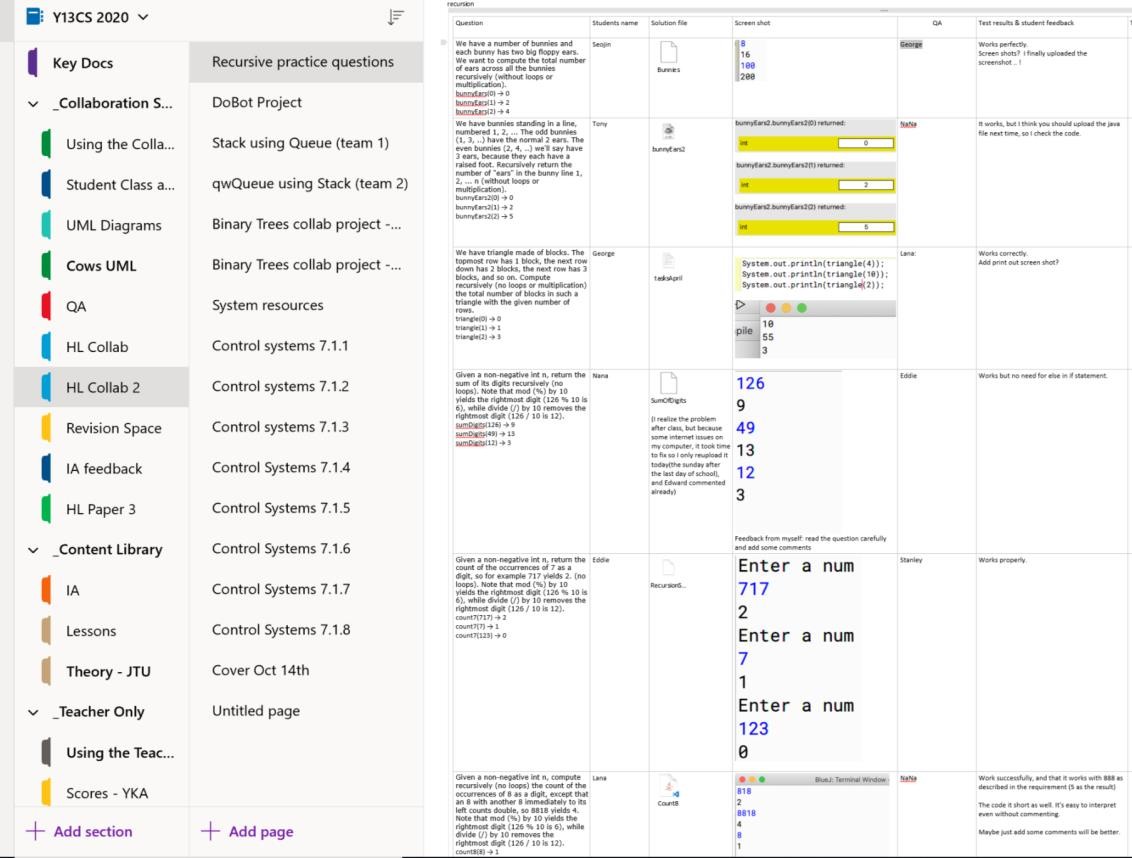
This is the most underutilized learning tool. You can set up learning activities for students to complete collaboratively. Students can read/write in this section. They can add/remove/edit pages as well. Here is an example of a collaborative coding task where students had a coding challenge assigned to them.They then uploaded their solution which was in turn, checked and feedbacked by another student in the class.
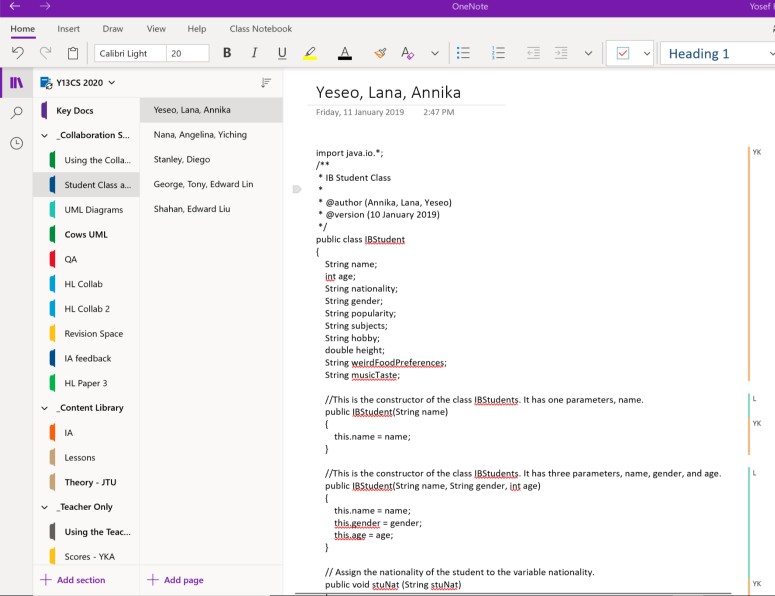
Another example where students had to work in smaller groups within the class on a task. Each group set up their own page under the ‘Collaborate Space’ section. As a teacher you can see which student contributed to which parts of the work.
- Another, extremely important section teacher can have in a Notebook is ‘Teacher Only’. This section does not appear by default when a Notebook is created and needs to be added manually. This is a private section that can be used by teachers to set up lessons in advance before sharing it with students. You can use it also to make notes of student work, collect your own resources and even manage a gradebook page.
To add this section:
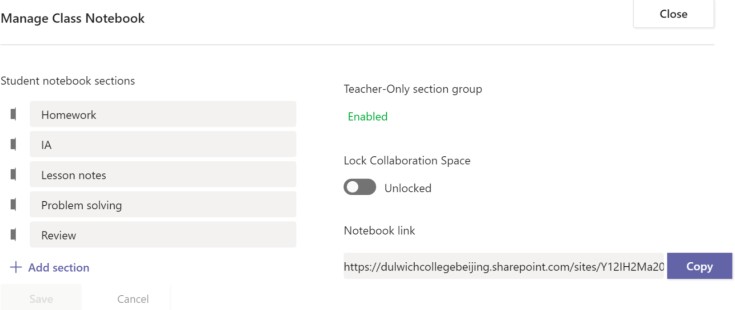
- Press ‘Class Notebook’ followed by ‘Manage Notebooks’
- Enable the ‘teacher only’ section and close the settings page
Using OneNote (tips)
Once set up, you can use OneNote to distribute work for students, review their progress and give feedback in different forms (type, draw, annotate, audio recordings).
Distribute work
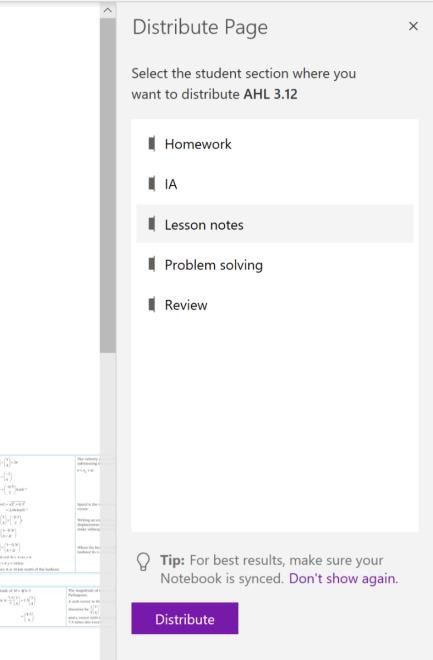
This can be used if you want to share a lesson plan, a worksheet or a task with all students this will make copies of the page for each of the students in the class.From the page you would like to distribute, press ‘Class Notebook’ menu followed by ‘Distribute Page’.A side bar will open on the rig hand side of the screen. You can then select where would you like to distribute this page(which of the student sections). This is important for organizational reasons. Choose the section and press ‘distribute’Please allow time for the page to be distributed. This can take longer time if you have many images, videos and other files on the page.
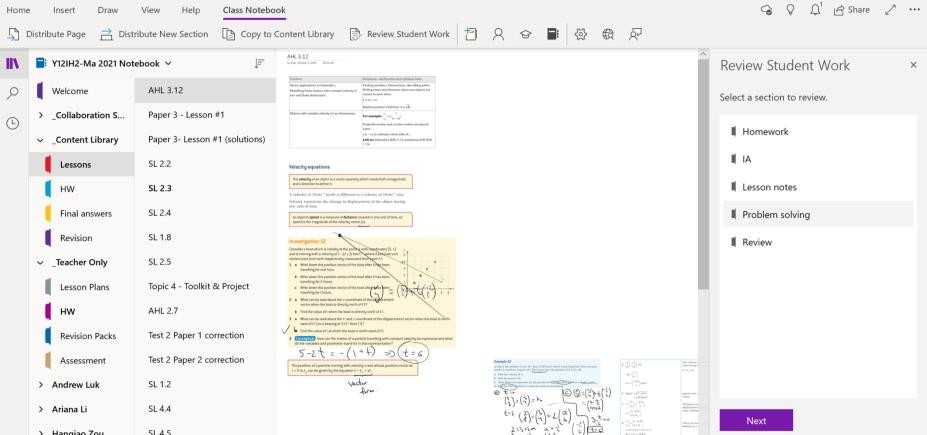
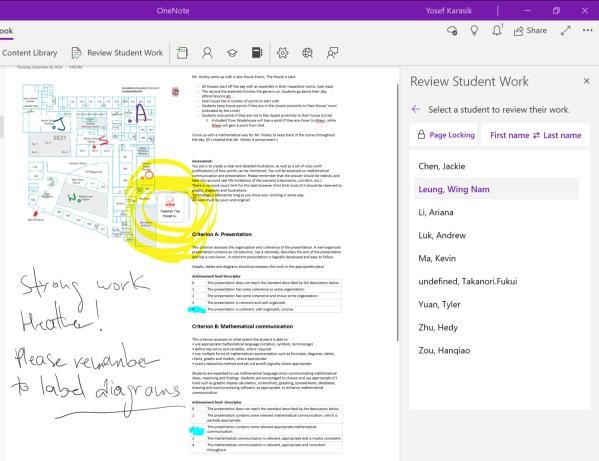
Review Student Work
As a teacher you can access any page in any of your student’s sections. However, to make your life easier you can review student work (if you distributed it to them).From the ‘Class Notebook’ bar, press ‘review student work’ and, similarly to the ‘distribute’ function, chose the sectionand the page you would like to review.OneNote will now load all the relevant pages from all the students in the class. This makes marking and feedback so much easier!
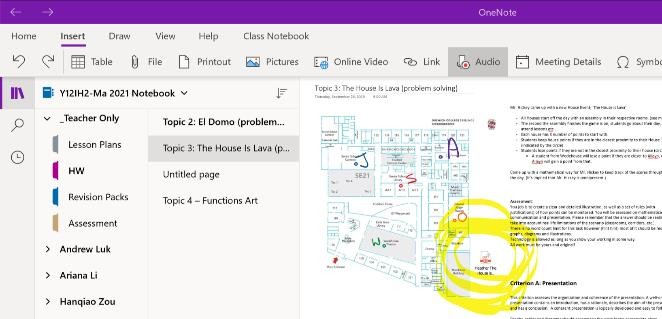
Audio feedback
Audio feedback is an extremely quick and effective way to give students personalized and specific feedback. Research indicated that students see audio feedback as more personal as they consider the time teachers take to come up and record feedback for them. Keep the feedback short. You can record more than one file on each page and hence give specific feedback on different parts of student’s work. You can annotate the page during the recording.
- Press the ‘insert’ bar and then press ‘Audio’
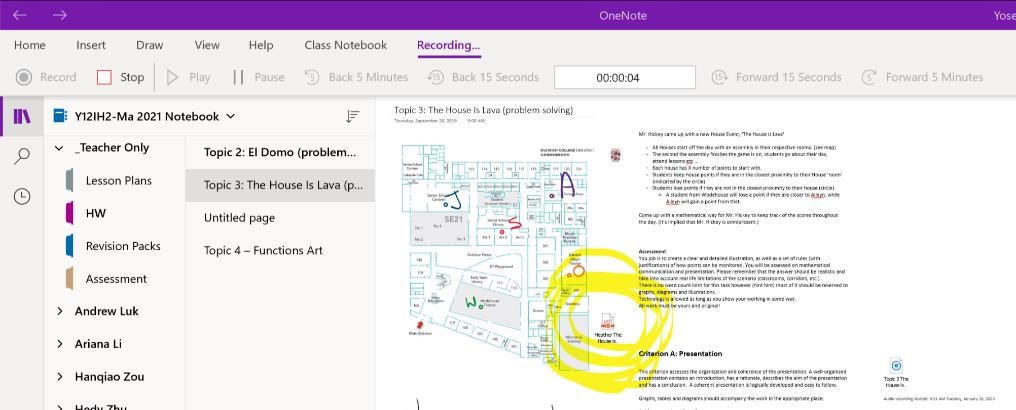
The recording will begin automatically, and a recording file will appear on the page. Please note that you can annotate student work while recording and this will be visible to them when playing back the recording (very useful when trying to emphasise specific areas of student work.